

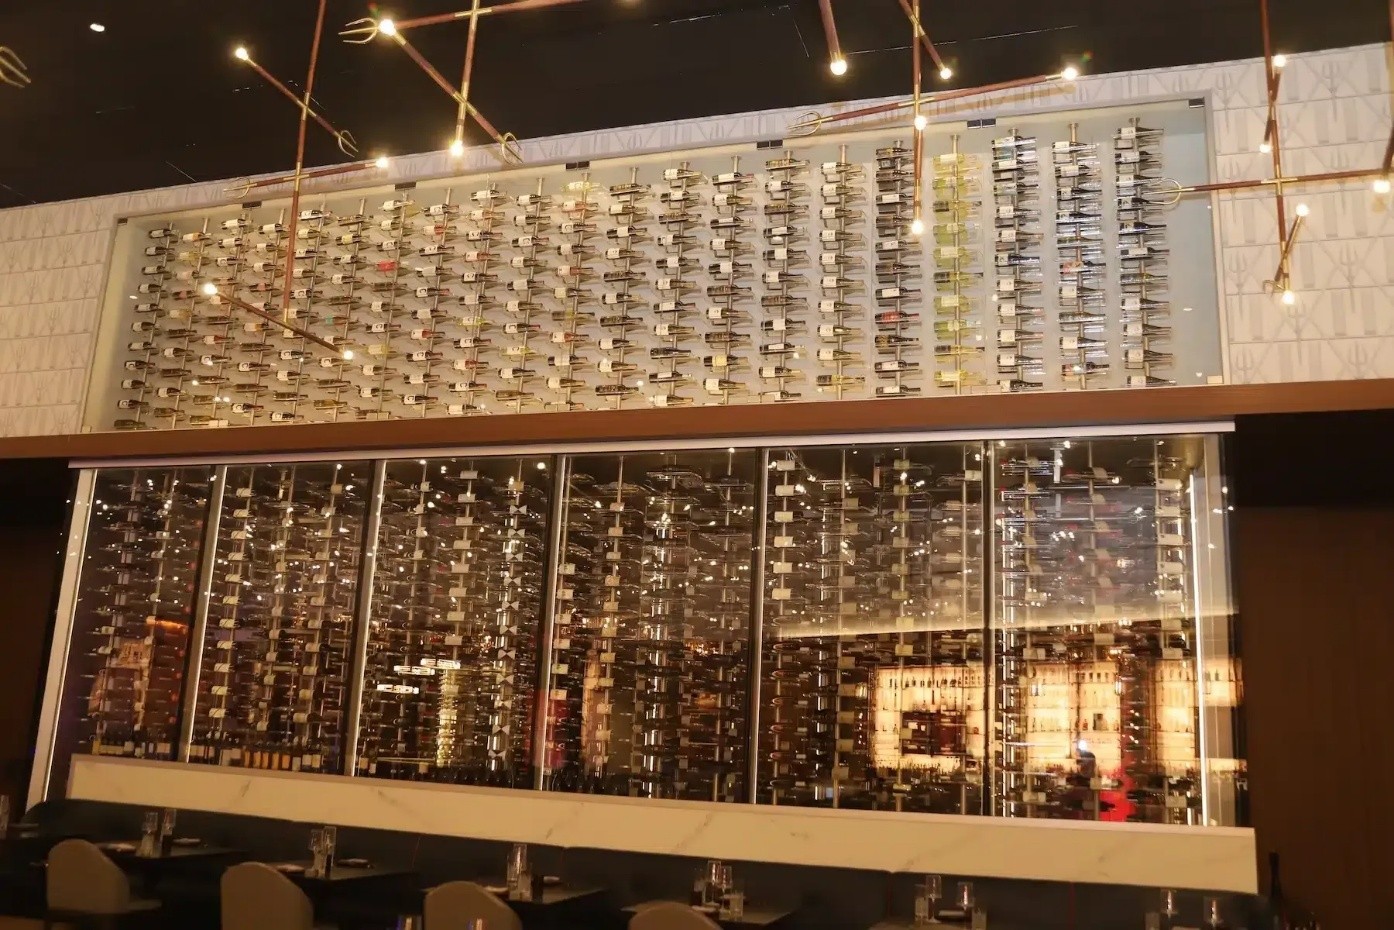
Wine cellar construction looks nothing like the finished photos for most of its life. Weeks pass with bare studs, foam board, wires and a lot of tape. Yet that unglamorous stretch decides whether the room holds 55°F for decades or fights you every summer. Here is the sequence, in the order the work normally unfolds, with the reasons behind each step. Knowing it helps you judge progress when you visit the site.
Before the First Cut
Work begins with measuring, then with testing. Moisture readings on the slab and walls, a look at the ceiling above, and a check of the electrical panel reveal what the site can actually support. Surprises found at this stage cost very little to deal with, while the same surprise found after drywall can stall a project for weeks.
Next comes a decision about where the cooling equipment will vent and where condensate will drain. Those two answers shape the wall layout more than any design sketch does, so they get settled before a stud is cut. Moving a vent later usually means moving a wall.
Framing With Moisture in Mind
Good wine cellar construction services treat framing as a moisture decision, not only a carpentry one. Treated lumber or a small gap against concrete keeps studs from wicking dampness, and the layout leaves enough depth for insulation thick enough to do its job.
Door openings get extra attention. A heavy cellar door needs a sturdy, perfectly square frame, because even a few millimeters of sag breaks the seal and lets cold air slip out around the edges. Checking that the frame is plumb before the door is hung avoids that.
Insulation and the Warm Side
Insulation does most of the climate work. Many builders aim for at least R-19 in the walls and more overhead, filling every cavity without gaps. Closed-cell foam and rigid board perform well because they shrug off moisture instead of absorbing it. Whatever the product, the seams should be taped and sealed so no air path remains.
The vapor barrier belongs on the warm side of the insulation, which means facing the rest of the house. Installing it backward traps moisture inside the wall, and it ranks among the most common and costly mistakes in the trade.
Rough-In Before Anything Pretty
With the walls still open, electricians and refrigeration technicians run their lines. That usually means a dedicated circuit for the cooling unit, outlets for lighting and smart controls, and a clear drain path. Adding any of these after drywall means cutting into finished surfaces.
Take photos of every wall just before it closes. Those pictures become a map for future repairs, showing exactly where pipes and wires run behind the paint. A phone camera is all it takes, and the habit has saved many a service call.
Finishes Go On Last
Drywall, moisture-resistant paint or stain, flooring and racking arrive once the envelope is sealed. Wood racking should be allowed to acclimate in the room first, so it doesn’t swell or shift after installation.
Cut-outs for lights and vents need tidy sealing. Each penetration is a possible leak, so careful caulking and gaskets matter more than they appear to, especially around the cooling unit. Neat work here pays off quietly for years.
Proving It Works
Before any bottles go in, the system should run empty for several days. Watch temperature and humidity hold steady through day and night, including the warmest hours of the afternoon. Any drift gets fixed now, while nothing valuable is at risk.
Load the collection gradually, too. A sudden flood of room-temperature bottles adds a heat load that stresses the system. Spreading the move across a few days keeps conditions steady and lets you spot problems early. Keep a simple daily log during that first week.
Conclusion: The Best Work Stays Hidden
Once the racks are full, nobody sees the vapor barrier or the sealed seams. That’s exactly why the order of the steps matters, and why skipping one rarely shows up until the first hot spell, when the room is under the most stress.
To see how a team lays out a full build from start to finish, and what each stage involves for a room like yours, take a look at customwinecellar.com.